


ISOLATION IS THE VERY MOST IMPORTANT FACTOR IN CREATING CLEAN LASH SETS, BECAUSE IT PROTECTS THE NATURAL LASHES FROM DAMAGE.

Before we get into why isolation is important we need to talk about the lash lifecycle. Our natural lashes are in a constant state of growing, resting, shedding, and growing back again. Each lash does this in their own rhythm.
Why is this important? If you don’t isolate properly and an extension is adhered to two natural lashes (as pictured below), and one of the natural lashes is in an active growth phase, while the other is in a resting phase, the lash that is resting will be pulled out, causing damage. When multiple lashes are glued together (stickies) it causes a lot of damage and is very uncomfortable.

So what are the benefits of proper isolation?
Improved Retention: When you leave your clients with multiple lashes stuck together, they pull on each other as they grow (as mentioned above). This is very uncomfortable and your client will be more likely to pick and pull at their lashes, resulting in poor retention. When you have clean, isolated lashes, they can grow freely and comfortably. Your clients won’t feel a need to pick, resulting in improved retention.
Comfortable Lashes; As mentioned above, lash sets with stickies aren’t comfortable. Our aim is to create seamless, comfortable sets that will keep our clients coming back. The way to do this is through proper isolation.
Life Long Clients: Lash sets with proper isolation are the only way to keep our clients lashes healthy, long term. When you have too many stickies and lashes are being pulled out before the time that they would naturally shed, it damages the lash follicle. This is not sustainable long term. Creating clean sets and using lash extensions that are the appropriate weight for the natural lash will keep your clients lashes healthy and strong.

Types of Isolation Techniques;
Double Handed Isolation: This method may be difficult at first, because you will be using your dominant hand as well as your non dominant hand to isolate lashes. Using the tweezers in your non-dominant hand separate the lashes until there is only one lash in between your tweezers. After that, use your dominant hands tweezers to place the lash extension,

Get the little lashes out of the way;
Once you start lashing, you will find pretty quickly that the short lashes seem to get in the way because they are harder to hold back with your tweezers. An easy way to solve this problem is to apply a VERY fine lash (like a .03 or .05) to these shorter lashes to lengthen them so they can be held to the side with your tweezer.
Use Your Fingers;
This is not a technique that is for everyone, but I want to teach it so my readers can have it in their toolbox. I like to use my fingers to separate the lashes. I use my pointer finger and my ring finger to act as a tweezer separating the lashes. This will also help give more control of the eyelid. It is important to us VERY LITTLE pressure when separating lashes with your fingers. Picture below for reference.

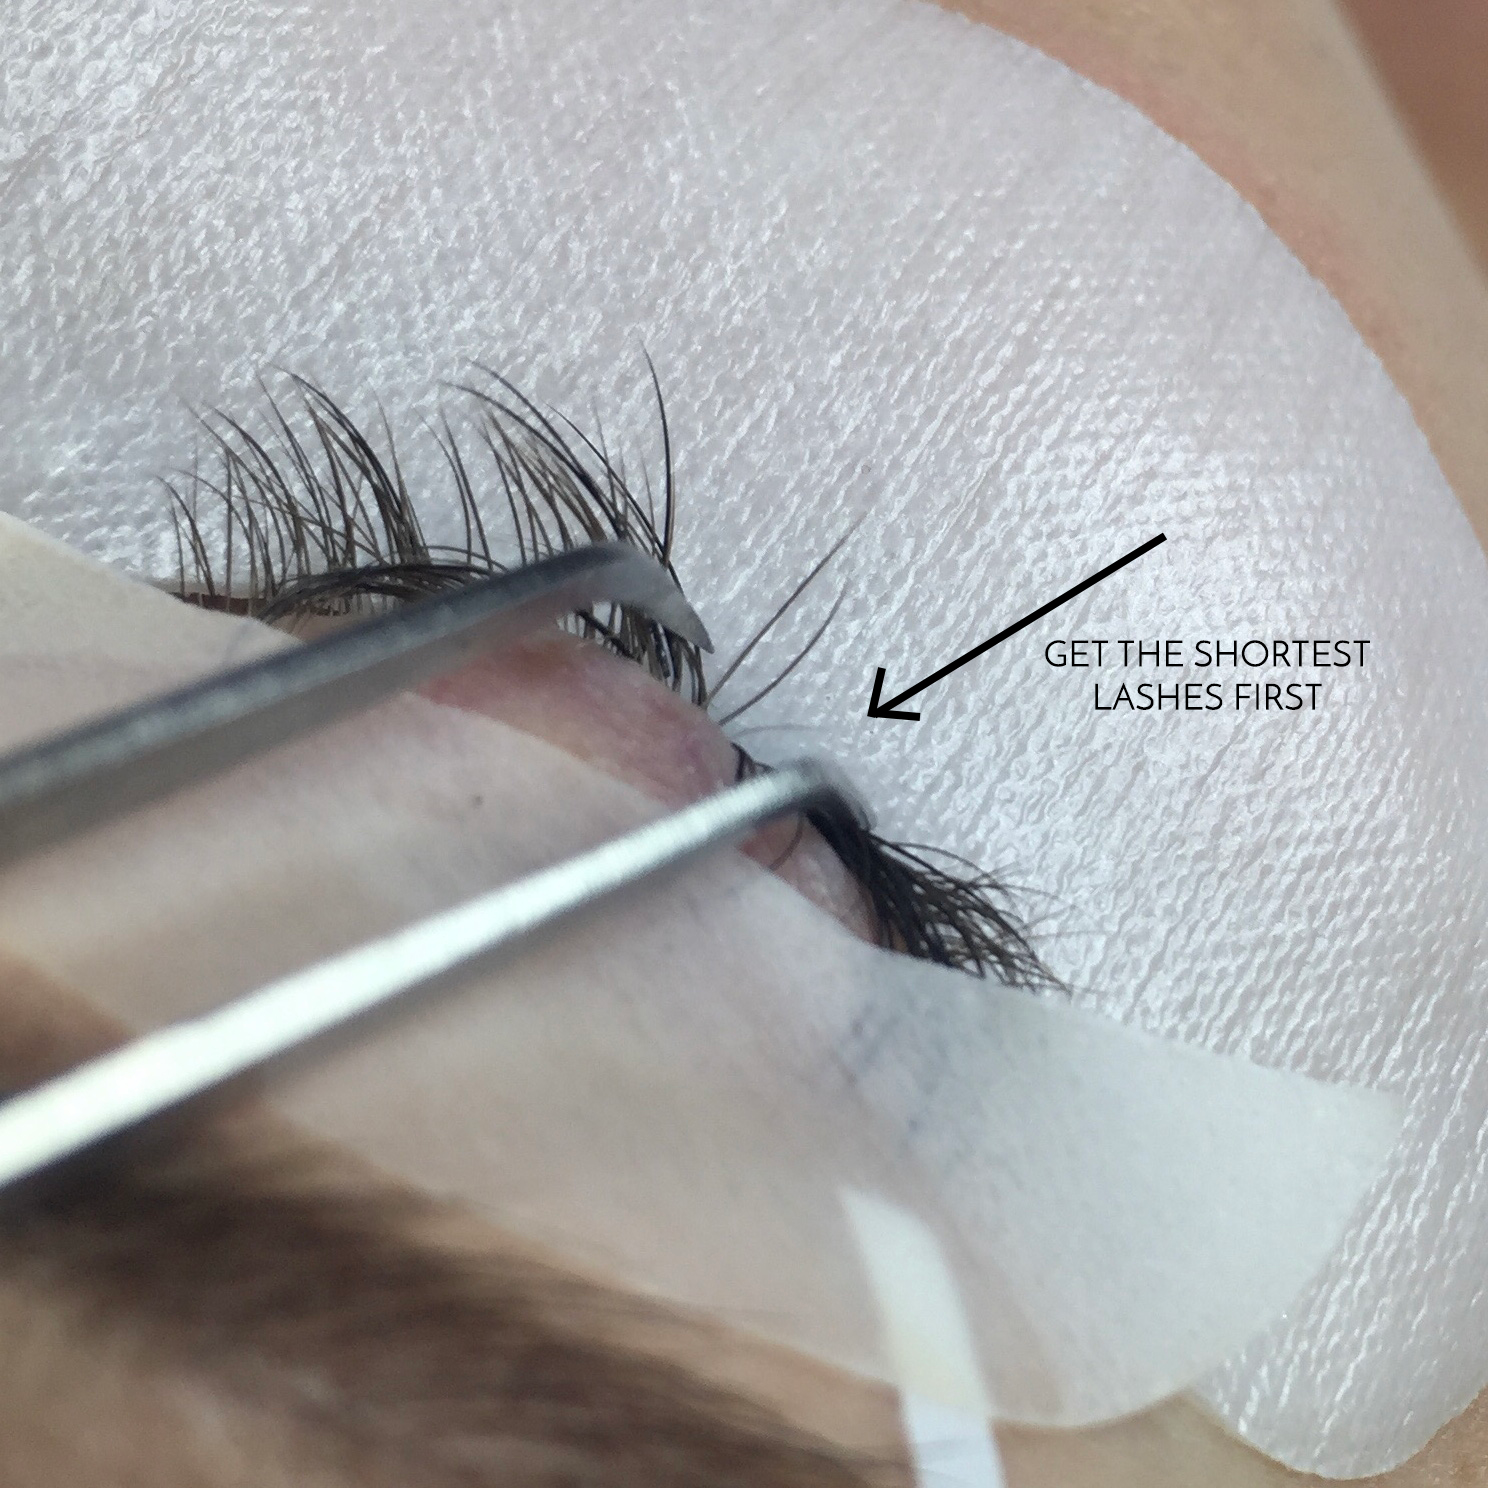
Use Tape to Work in Layers;
Our lashes grow in layers. Usually most clients will have 3 layers. Some have only two and some have four. In order to get access to those bottom layers we can use the “tape up method” In this method you can use either a sticky gel patch or tape to pull up the top layers of the lash, giving you access to those bottom layers. Picture below for reference.
We hope this post has helped you in your lash journey to perfect isolation. Remember, perfecting a skill takes time. Don’t worry about your speed until you have MASTERED isolation. Let us know what you think in the comments!